Our new house doesn't have a garden sorted yet, but I felt like I needed my own space around it. As always the decision was to do it all by myself. Having small money in my pocket I had to find a way to create bargain patio furnitures and decorate them somehow. On that occasion I went to the backyard and took the old pallets that laid in there for ages and I converted them into a small diy pallet sitting-dining set. All I missed was something to cover the bare wood planks, so I went to Ikea and did some shopping!
I bought the cheapest pillows that you can find in store and a mattress for children that comes up to two meter long when you put all the elements together. All of these cost me approx. £30! I have already had some fabric left at home (also bought at Ikea), so I didn't need to worry about the pillow covers, just to make them myself. Mattress cover though is a different story altogether, so I'll tell you about it later, but today I want to show you how easy it's to make envelope pillow covers.
SUPPLIES:
Here is what you need for this project:
- pillow
- fabric
- sewing machine
- overlock
- pins, scissors, measuring tape, threads
STEP 1 - before you start
Having all the supplies ready in place you may start planning. First of all you need to know how many pillow covers you want to make. I bought 10 pillows, but had enough fabric to make only six covers! It's really important you measure everything up before you start cutting the fabric, because later it may be too late. Also don't forget fabrics got different texture and design, so remember to measure everything up in the right direction.
STEP 2 - cutting the fabric
Once you have done your measurements you may start cutting the fabric to the desired dimensions. My pillows were 50x60cm, so I had to add approx 1cm extra on the edges (52cm wide in total) and about 42cm extra on the end (102cm long in total).
STEP 3 - folding the edges
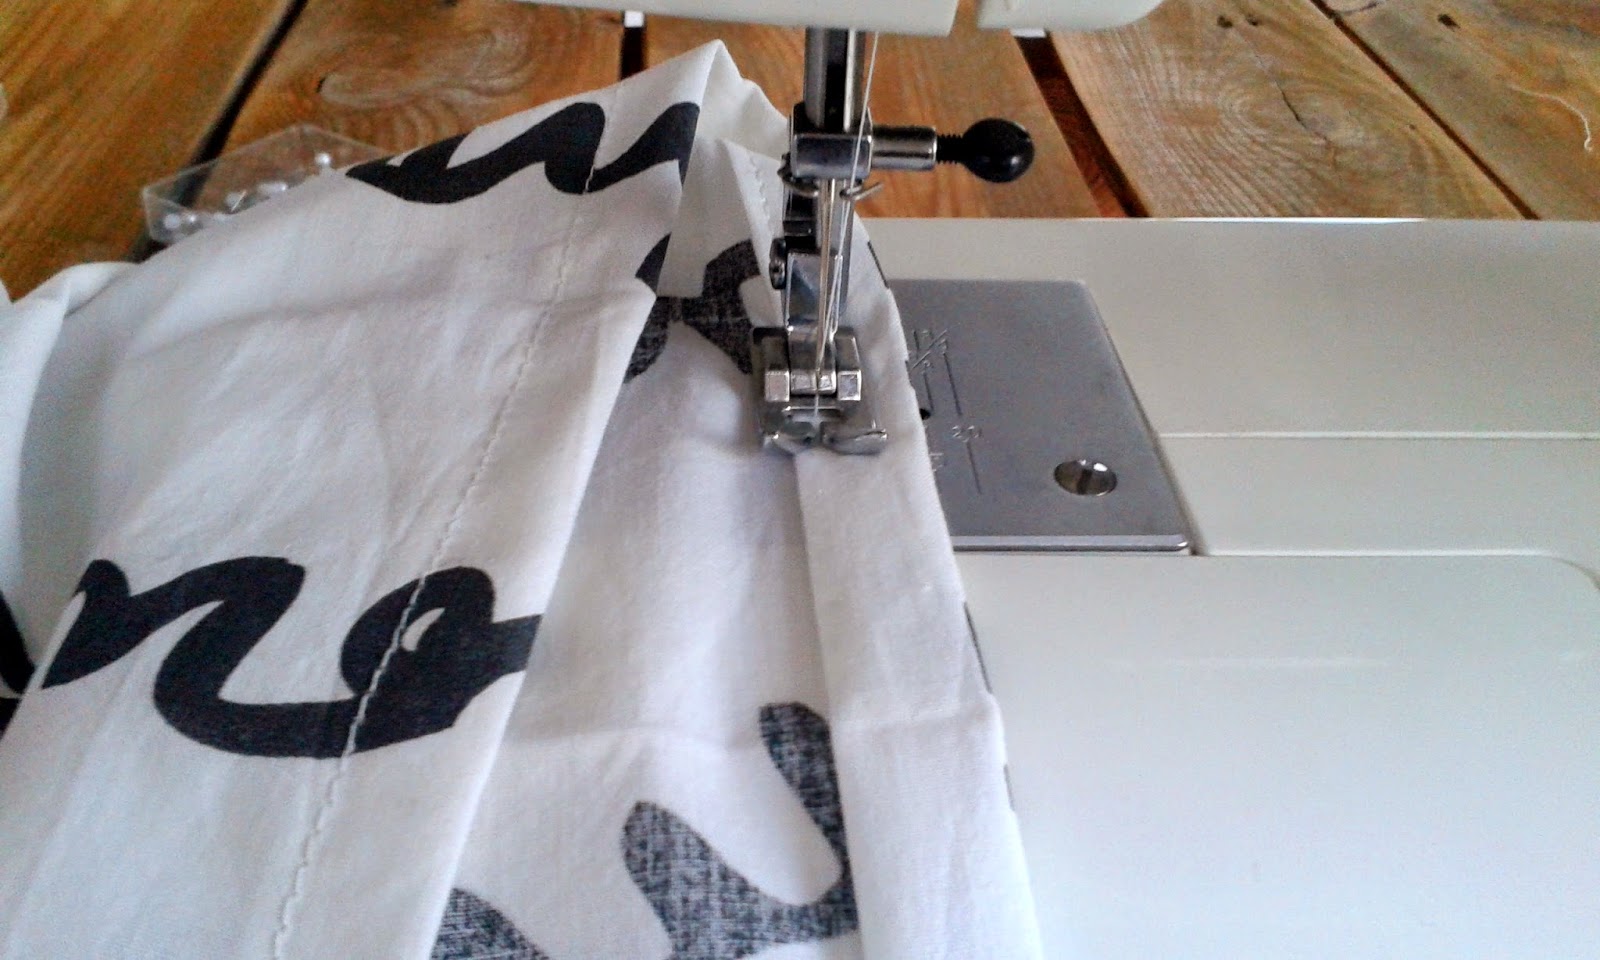
Now place one of the ends down on the table, keeping the wrong side of the fabric up and fold it twice (approx. 1cm wide at the time) and then pin it in place to get something like that...
When you are done with pinning sew it in and then iron flat.
STEP 4 - folding the edge for envelope
Turn the fabric over with the wrong side up and measure 40cm down from the unfinished edge and mark it with the pins. Now put the already folded edge to be lined up with the pins, keeping the right side of the fabric in the middle. Then fold the rest of the fabric upwards, until it lines up with the pins again. If you look from the side you should see four layers.
Now pin both sides in place.
STEP 5 - sewing
Once you have got your fabric prepared like that you may sew along the edges with an overlocker or do the zig-zag with an ordinary sewing machine.
STEP 6 - finishing
Now turn the entire pillow cover right side out, tucking the extra folded edge inside and then iron flat throughout. Place your pillow inside pulling the extra flap over it, so the pillow is well hidden and that's it. Your envelope pillow cover is done!


What a great tutorial; the photos really help a novice sewer follow it. And thanks for the tip for the IKEA fabric.
ReplyDeleteI'm so happy you find this tutorial helpful and this Ikea fabric is really great! I already got few other ideas of how to use it.
Delete